

These are instructions on how to install the Xperia USB Driver on a Windows computer using the setup installer (this method works on Windows 7, Windows 8, 8.1, Windows 10, and Windows 11).
Steps to Install Xperia USB Driver on Windows
- Download the Xperia USB Driver and extract the zip file on your computer.
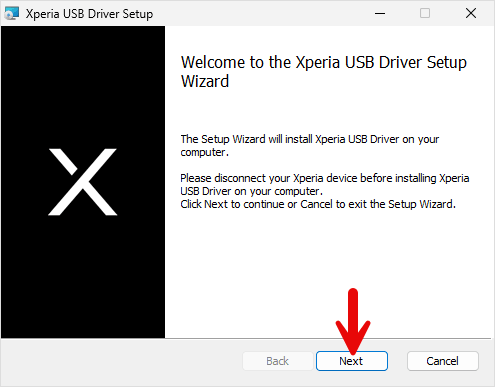
- Open the extracted folder and double-click Setup to start the Xperia USB Driver installer.
- If Windows shows a security prompt, click Yes or Run to allow the installer to continue.
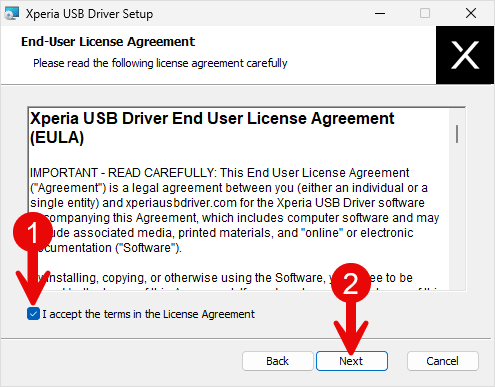
- Read and accept the terms, then click Next (or I Agree) to continue.
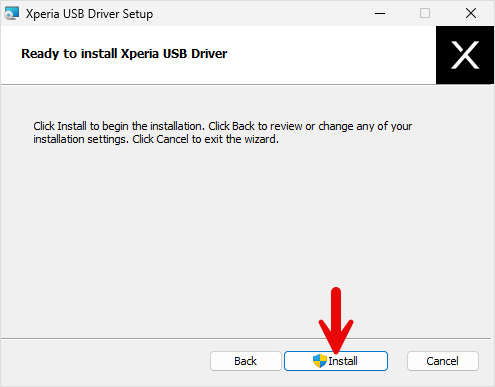
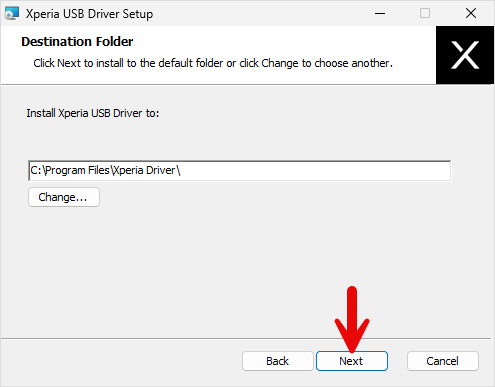
- Choose the installation location (or keep the default path) and click Next / Install.
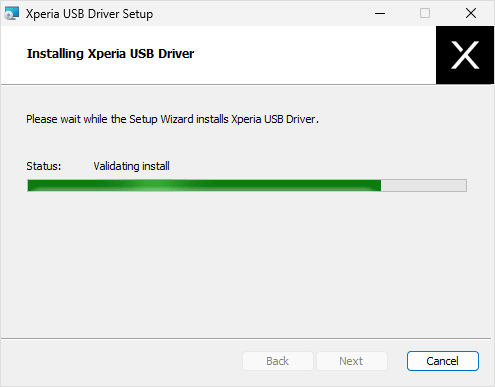
- Wait while the setup installs the Xperia USB Driver on your computer.
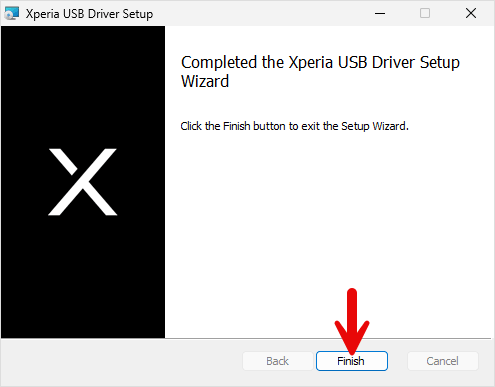
- When the installation is complete, click Finish to close the setup wizard.
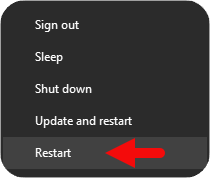
- Restart your computer so Windows can load the new USB drivers correctly.

Once the Computer is restarted, you can easily connect your Sony Xperia Device to the Computer without facing any issues.
Readme:
[*] Xperia USB Driver: Download the latest package from Xperia USB Driver v2.0 or browse all models on the Download Xperia USB Driver page.
[*] Sony Xperia Firmware: If you are looking for the Xperia Stock Firmware, then head over to the Download Sony Xperia Firmware page.
[*] Xperia Flash Tool: If you are looking for the Sony Xperia Flash Tool to flash or install .ftf firmware, then head over to the Download Sony Mobile Flasher page.
[*] Xperia PC Suite: If you are looking for the original Xperia PC Suite, then head over to the Download Sony PC Companion page.
