

These are instructions on how to install the Sony Xperia Drivers on Windows Computer (this method can be used on Windows XP, Vista, Windows 7, Windows 8, 8.1, 10 and Windows 11).
Install Sony Xperia Drivers Manually
- Download and extract the Xperia Driver on the Computer (if in case, you have already downloaded and extracted the driver then SKIP this step).
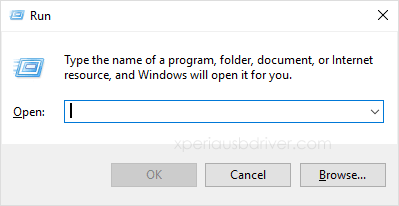
- Open Run Dialog box on the Computer by pressing Win + R key:
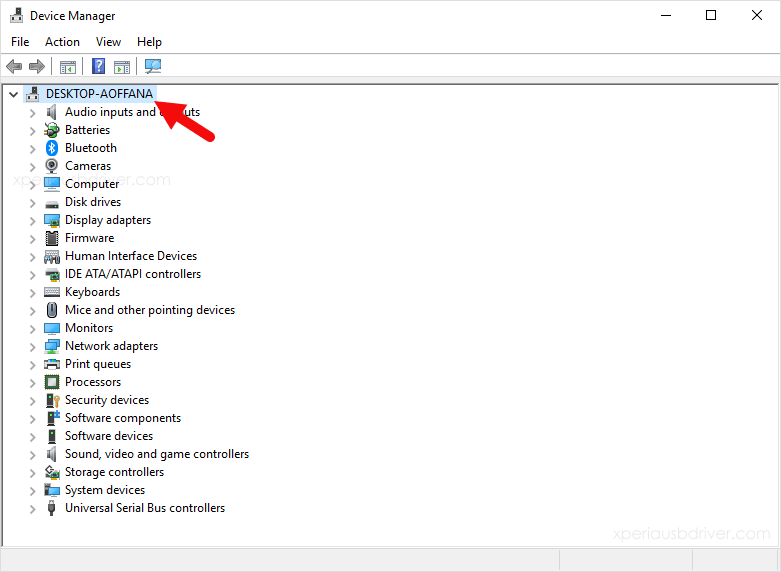
- Once the Device Manager is Launched, Click on the Computer Name (computer name may vary from the screenshot below):
- Click on the Browse Button:
- Click on the Next Button:
- Now, Close the Device Manager and Restart the Computer:

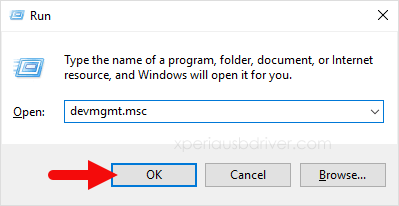
Type devmgmt.msc and Click on OK button to Launch the Device Manager:
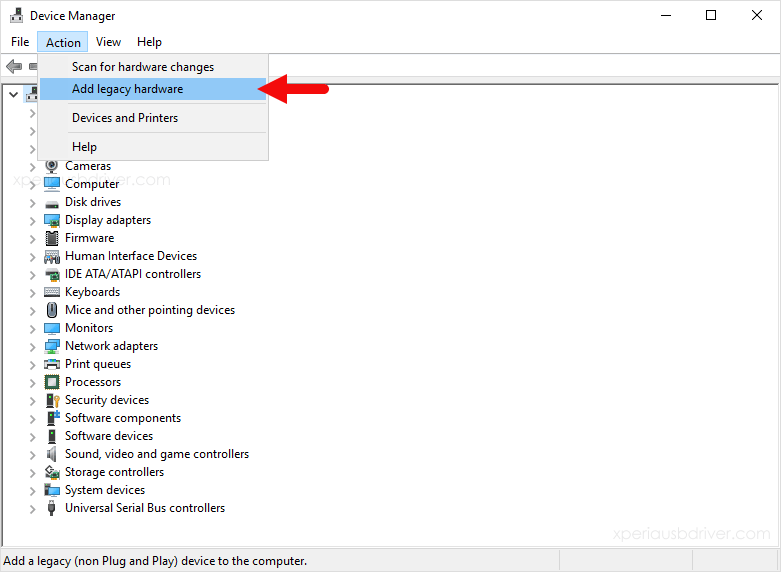
Click on the Actions Menu and Select Add Legacy Hardware:
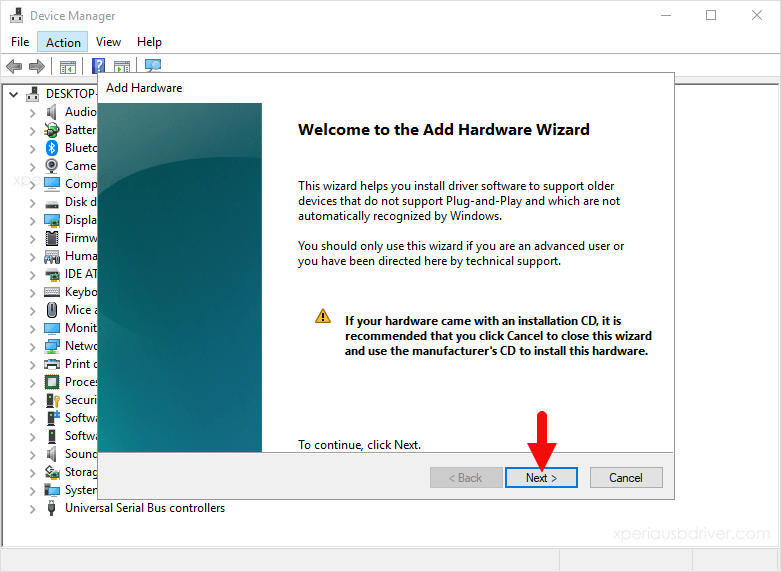
Click on Next Button:
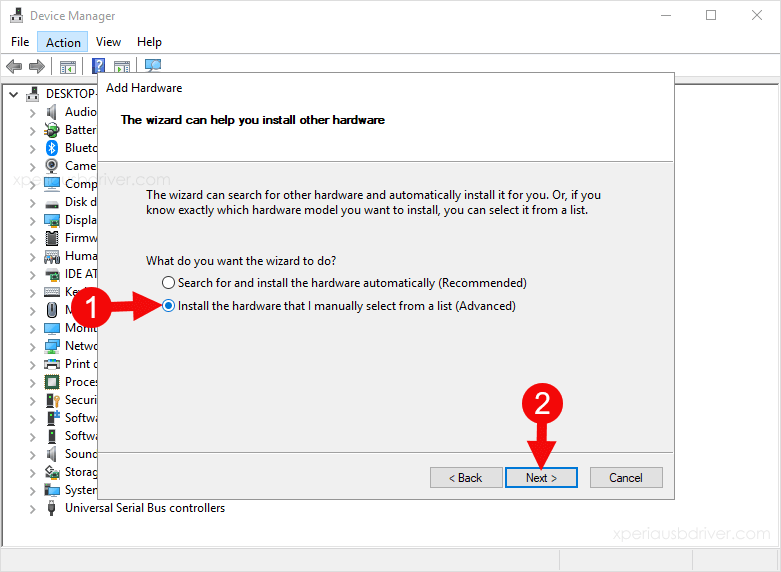
Click on Install the hardware that I manually select from a list Checkbox and Click on Next button:
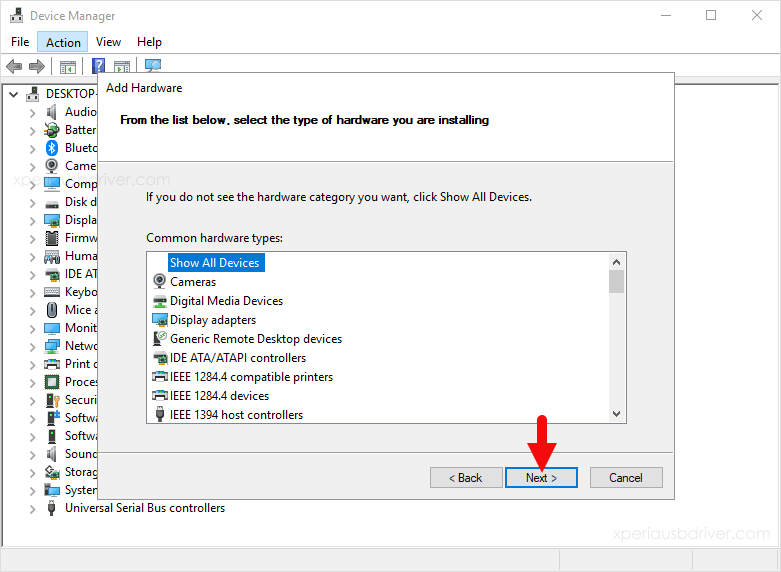
Again, Click on Next Button:
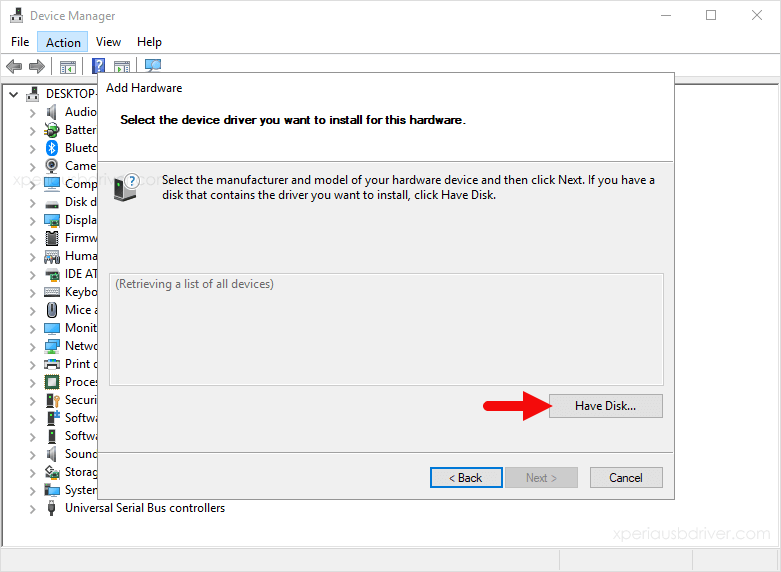
Click on Have Disk Button:

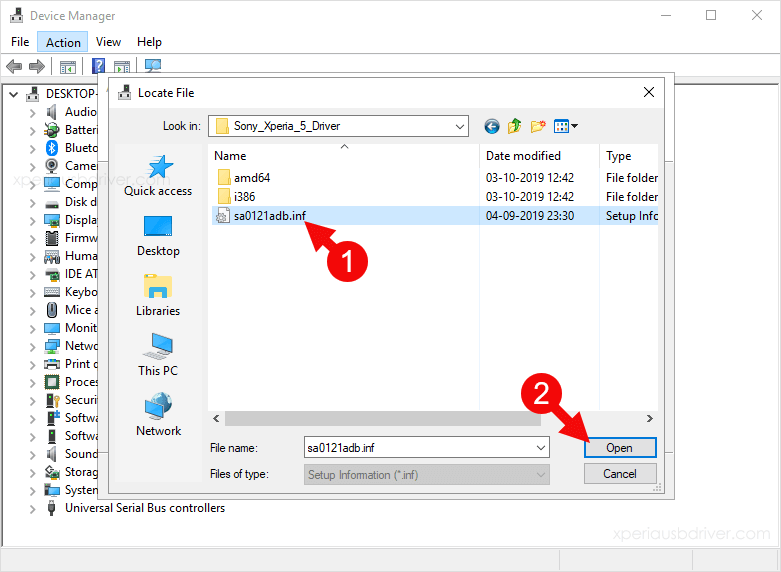
Locate the .inf file from the Xperia Driver Folder (that you have downloaded in Step#1) and Click on Open Button (driver name may vary as per the model name):
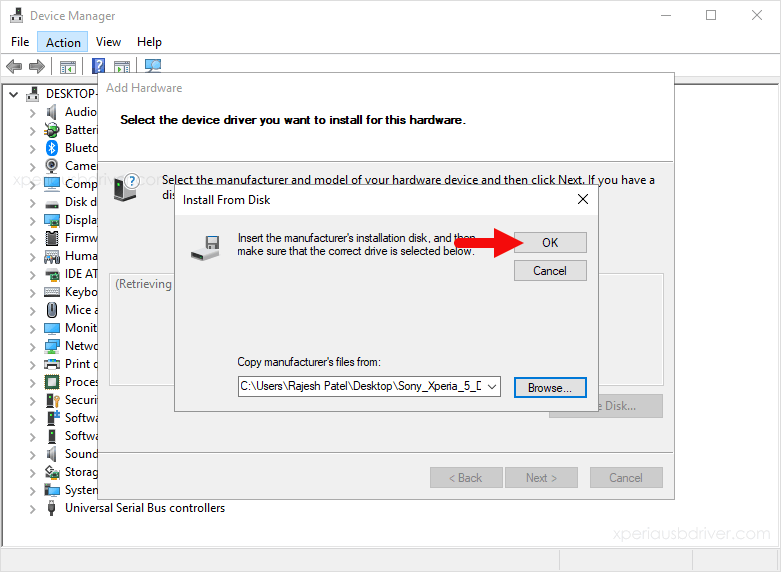
Click on OK Button:
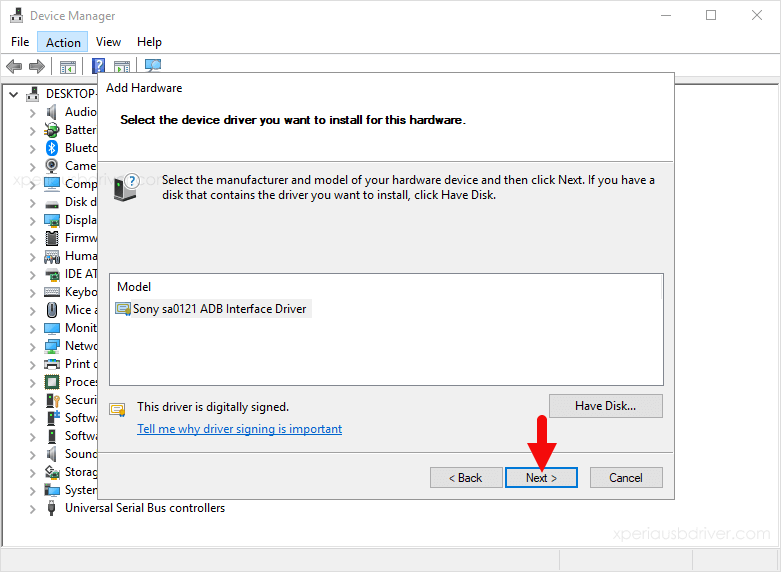
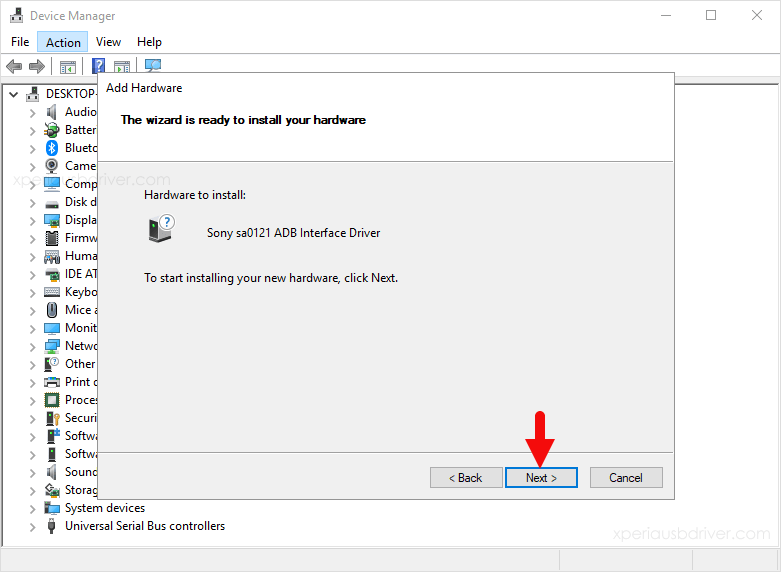
Again Click on the Next Button:
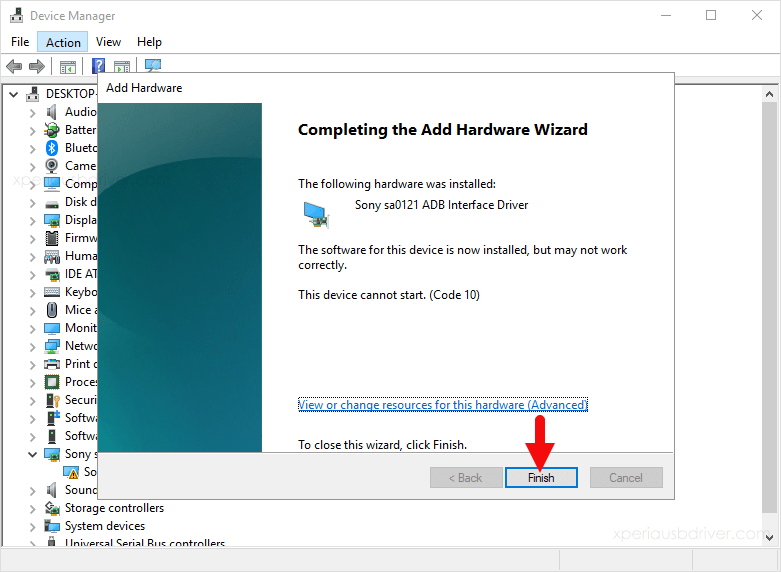
Click on the Finish Button to Complete the Installation (ignore Code 10):
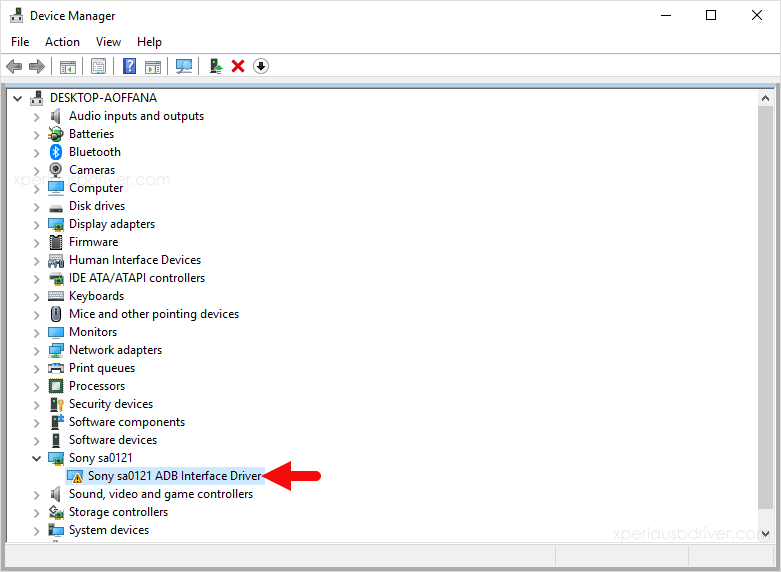
Once the Driver installation is Successful, you will be able to see the Driver listed in Device Manager:
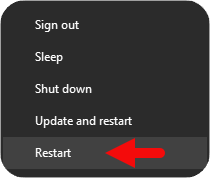
Once the Computer is restarted, you can easily connect your Sony Xperia Device to the Computer without facing any issues.
Readme:
[*] Xperia USB Driver: If you are looking for the Sony Xperia USB Driver, then head over to the Download Xperia USB Driver page.
[*] Sony Xperia Firmware: If you are looking for the Xperia Stock Firmware, then head over to the Download Sony Xperia Firmware page.
[*] Xperia Flash Tool: If you are looking for the Sony Xperia Flash Tool to flash or install .ftf firmware, then head over to the Download Sony Mobile Flasher page.
[*] Xperia PC Suite: If you are looking for the original Xperia PC Suite, then head over to the Download Sony PC Companion page.
